
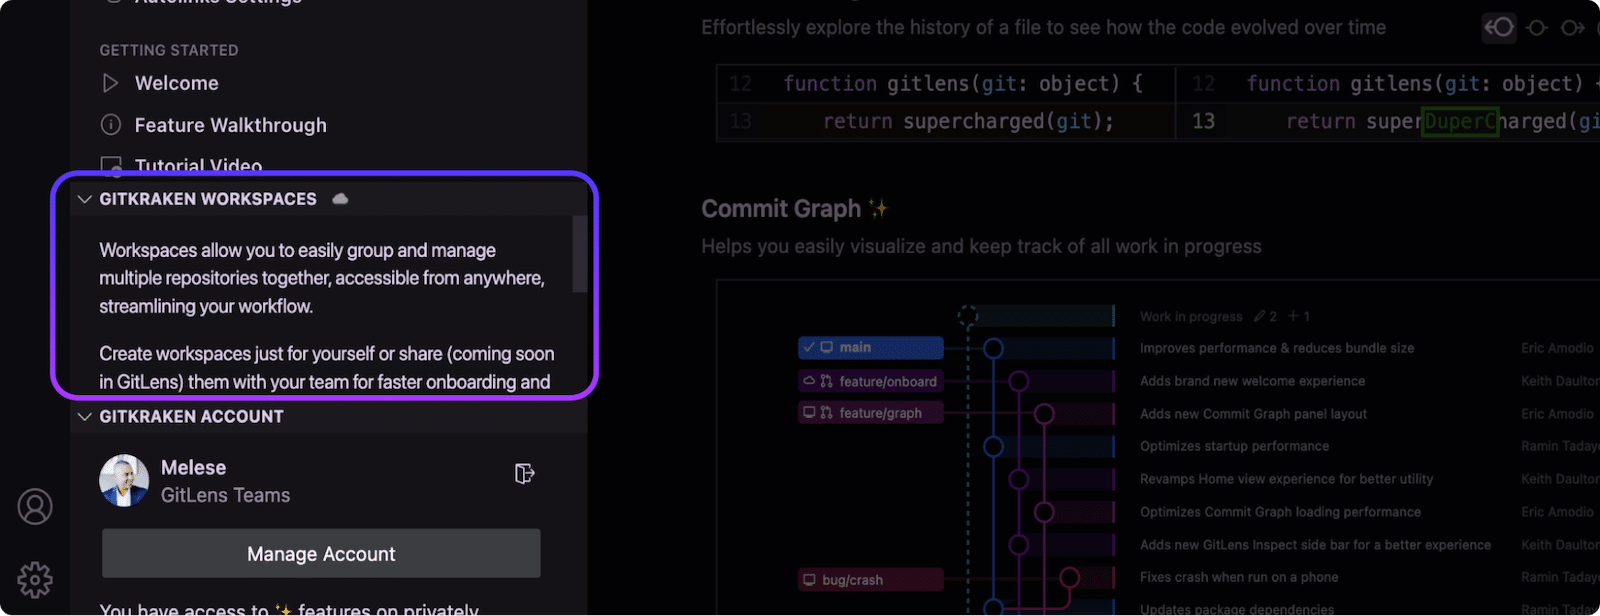
Workspaces are a convenient way to group and manage multiple repositories, making them easily accessible from anywhere. Whether you’re working individually or collaborating with a team, Workspaces provide a seamless way to manage your projects. A Workspace can be made up of local repositories, those you currently have open in your VS Code window, or GitKraken Workspaces, which are repositories stored on the cloud or on GitKraken services.
Whether you’re working individually or collaborating with a team, these new features are designed to help you work more efficiently and effectively.
To access Workspaces, simply open the GitLens Home menu and you will find them in the panel located at the bottom left. Alternatively, you can access them by performing a search in the command palette.
Please note that while using cloud workspaces requires a GitKraken account, shared cloud workspaces require a trial or subscription.
Creating a Workspace
To create a workspace, tap the ‘+’ button next to GitKraken Workspaces, provide a name and a description, and connect a provider if you wish.

Adding Repositories
You can add repositories to a workspace by tapping the ‘+’ button under the Workspace tab. And if you want to keep your Workspaces and their repositories up-to-date, simply tap the Refresh icon.

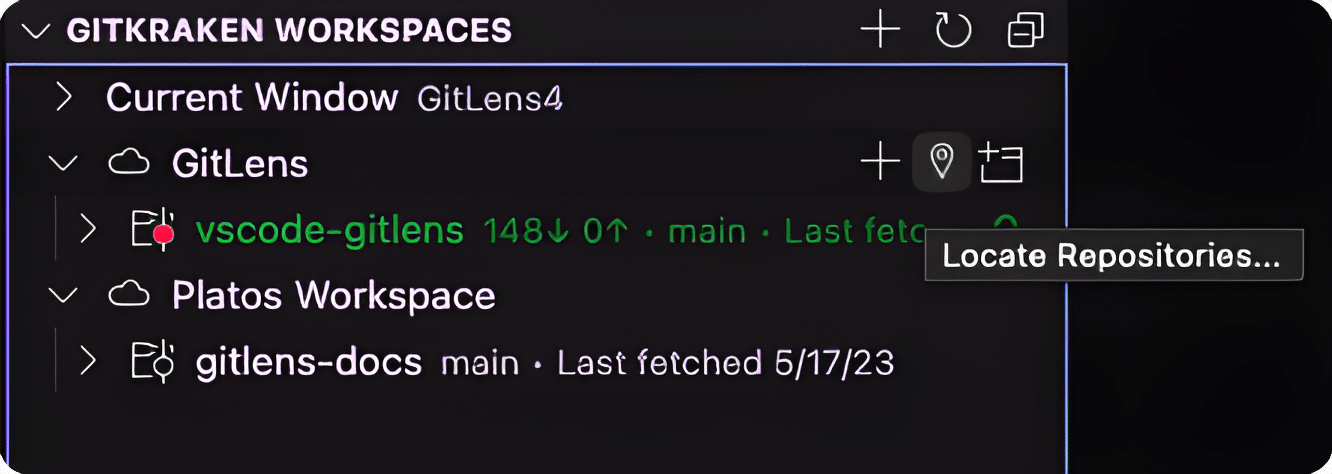
Locating Repositories
To locate the disk location of the repositories within the Cloud Workspace, select the ‘Locate Repositories’ (pin icon) next to the repository name. If you have a folder set up for a Workspace with multiple repositories on your disk, you can select the option and choose the parent folder. GitLens will then find all the repositories within that parent folder.
Opening Repositories
To open a repository from a Workspace tap the ‘Open Repository in New Window’ icon.
Pro Tip: If you prefer to open the Workspace in your current window, hold down the ALT/OPTION key on a Mac and click ‘Open Repo’.
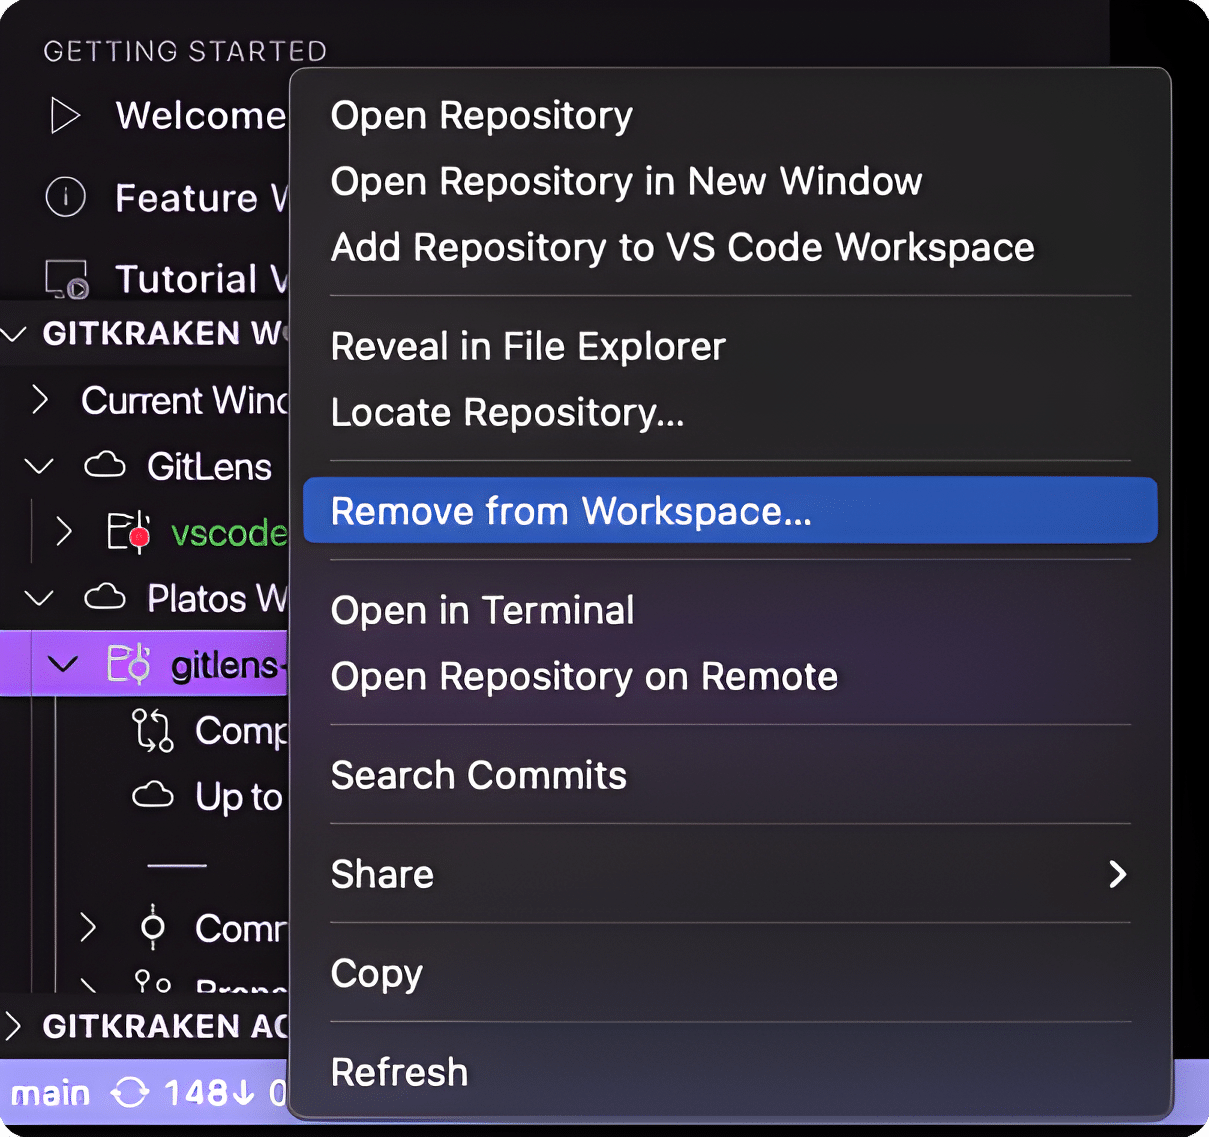
Removing Repositories
To remove a repository from a Workspace, you can do so by right-clicking to open the context menu on the repository you wish to remove and then selecting ‘remove repository from Workspace’.
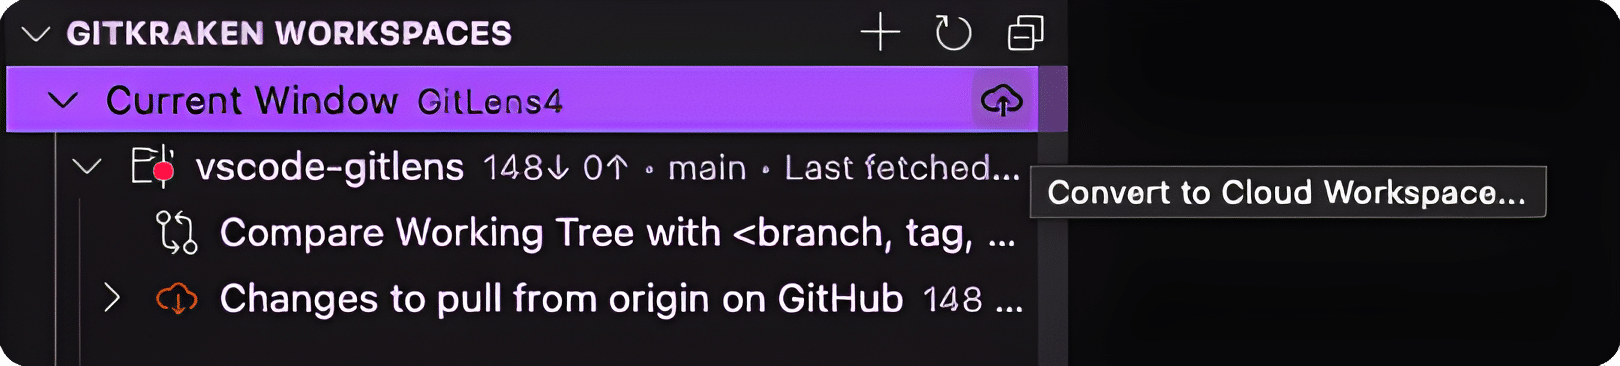
Converting to Cloud Workspaces
To convert your local VSCode workspace into a GitKraken Workspace, press the ‘Convert to Cloud Workspace’ icon, provide a name and a description, and your workspace will be stored in the cloud for your GitKraken user account. This means that your Cloud Workspace will now appear in any of your GitKraken shared services, such as GitKraken Desktop, GitLens, and the GitKraken CLI.
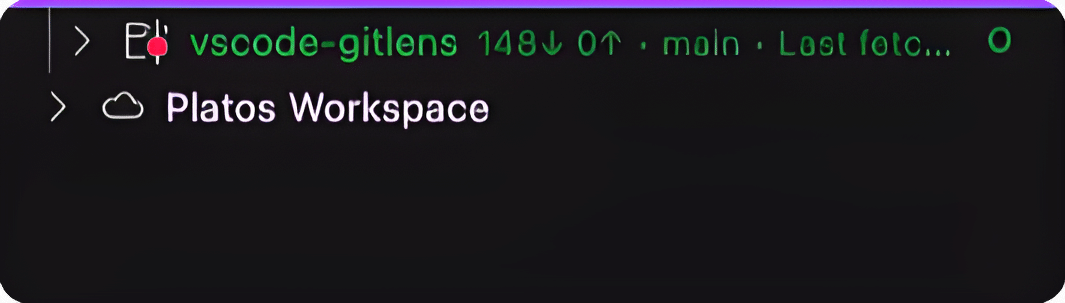
Understanding Workspace indicators and colors
Workspaces also include visual indicators to help you understand their status. For example, a green Workspace with an ‘O’ symbol indicates that it is open in your current window.
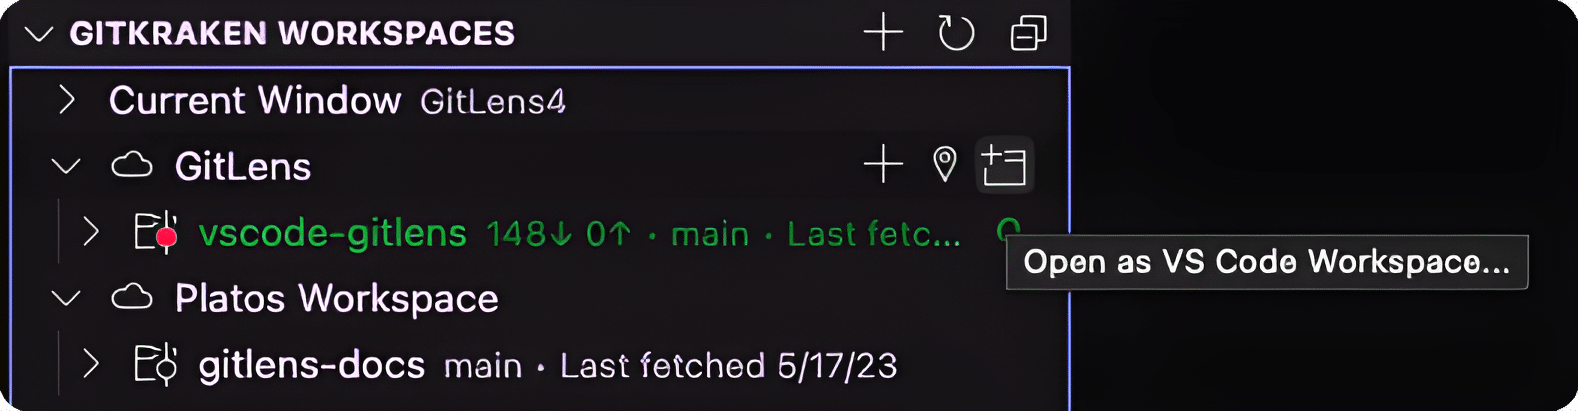
Workspace linking
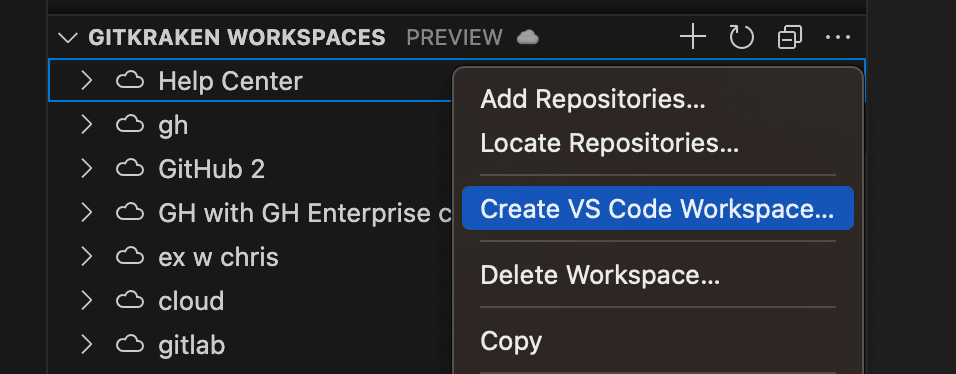
A VS Code workspace can be created from a GitKraken Workspace to link them.
You can open a linked VS Code workspace from its cloud workspace using the new Open VS Code Workspace in New Window option (hold alt to open in the current window).
When repositories are added to a GitKraken Cloud workspace, you can automatically add those repositories to its linked VS Code workspace when that workspace is opened. You can choose to automatically add the repositories, be prompted to add them, or disable auto-adding repositories altogether for that workspace. This setting is chosen when creating the VS Code workspace, but can be changed at any time using the new Change Linked Workspace Auto-Add Behavior command on the Current Window item or its linked workspace in the Workspaces view.

You can also manually add repositories to the VS Code workspace at any time using the new Add Repositories from Linked Workspace command.
