
Last updated: June 2025
Save your uncommitted changes for later by creating a stash. Stashing is useful when you need to switch context quickly or test something without committing unfinished work.
Stash changes from the top toolbar
Click the Stash icon in the top toolbar to create a new stash.

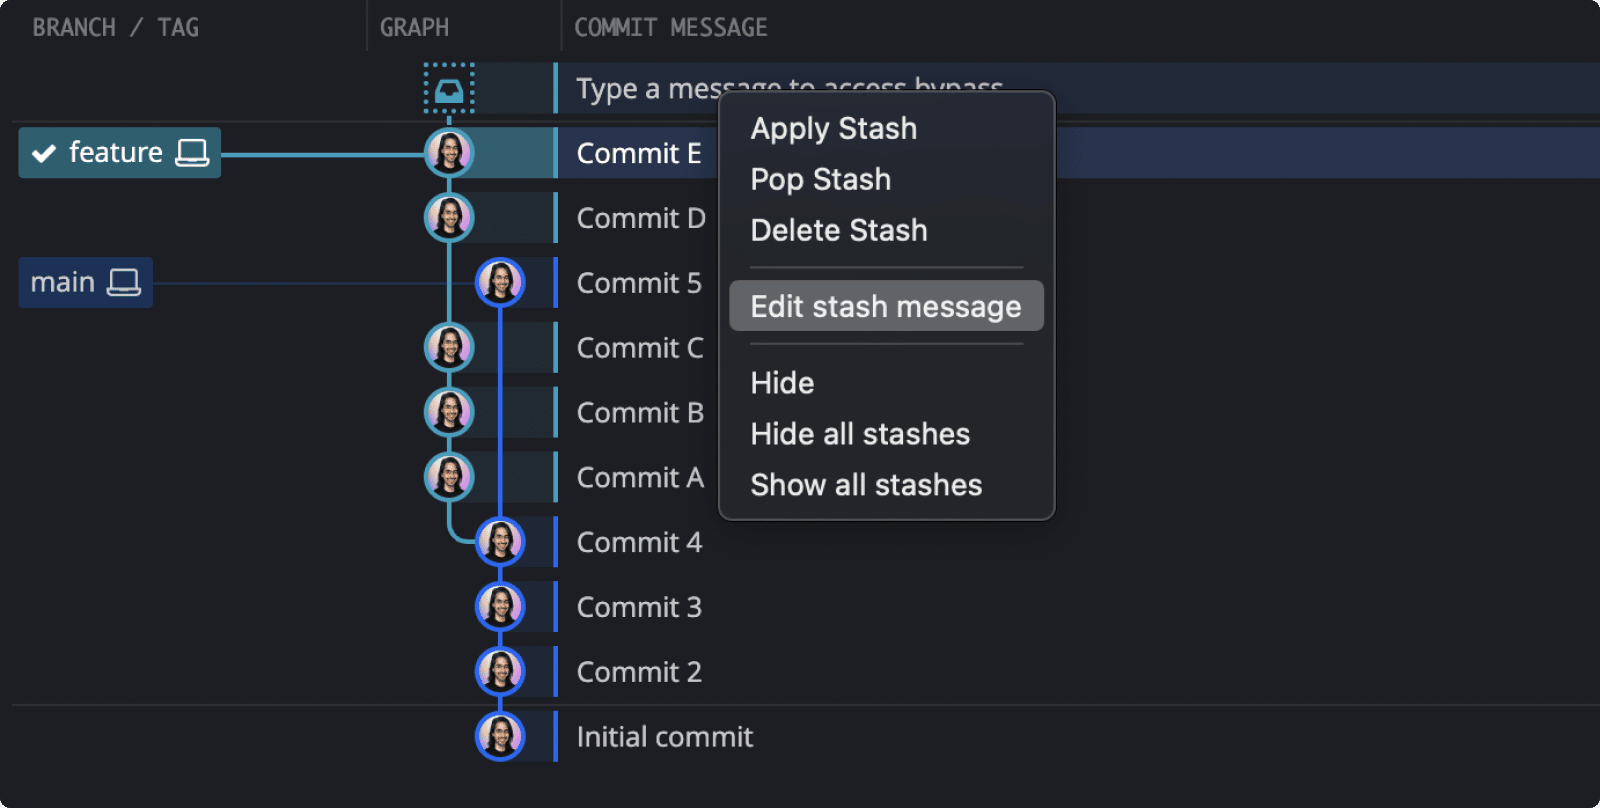
Your stash will appear in the Commit Graph. Right-click on the stash node to see available options:
- Apply Stash: Apply changes to your working directory and keep the stash.
- Pop Stash: Apply changes and remove the stash.
- Delete Stash: Permanently remove the stash.
- Hide: Hide the stash from the graph.
- Hide all stashes: Hide all stashes from the graph.
- Show all stashes: Display all hidden stashes.

To quickly pop the latest stash, use the Pop Stash button:

Stash from the Commit Panel
You can stash changes from the Commit Panel. Stage your files and click the Stash icon (instead of Commit).
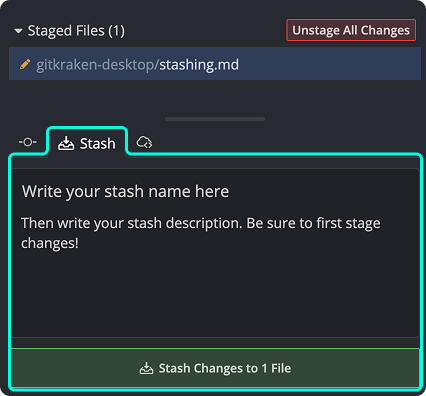
If you use GitKraken AI, click the sparkle icon to auto-generate a stash message based on your staged changes.

View and manage stashes from the Left Panel
All your stashes are listed in the Left Panel. Right-click to Apply, Pop, Delete, Hide, or Show them.

Name a stash
To give a stash a name, type into the // WIP field at the top of the graph before stashing.

Named stashes are easier to recognize in the Left Panel and commit graph.


Edit a stash message
To update a stash description, right-click the stash in the graph or the Left Panel, then select Edit stash message.
Create and apply a partial stash
Stash specific files by right-clicking them in the Staged Files panel and selecting Stash file. This clears their changes and saves them to a partial stash.

You can also apply changes from a partial stash one file at a time. Right-click a file in the Commit Panel while a stash is selected.

Tips for partial stashes
- Name a partial stash via the
// WIPnode or summary field before stashing. - Hold Shift or Ctrl to select multiple files.
- Applying a file from a stash doesn’t remove it from the stash.
